Your Cart is Empty


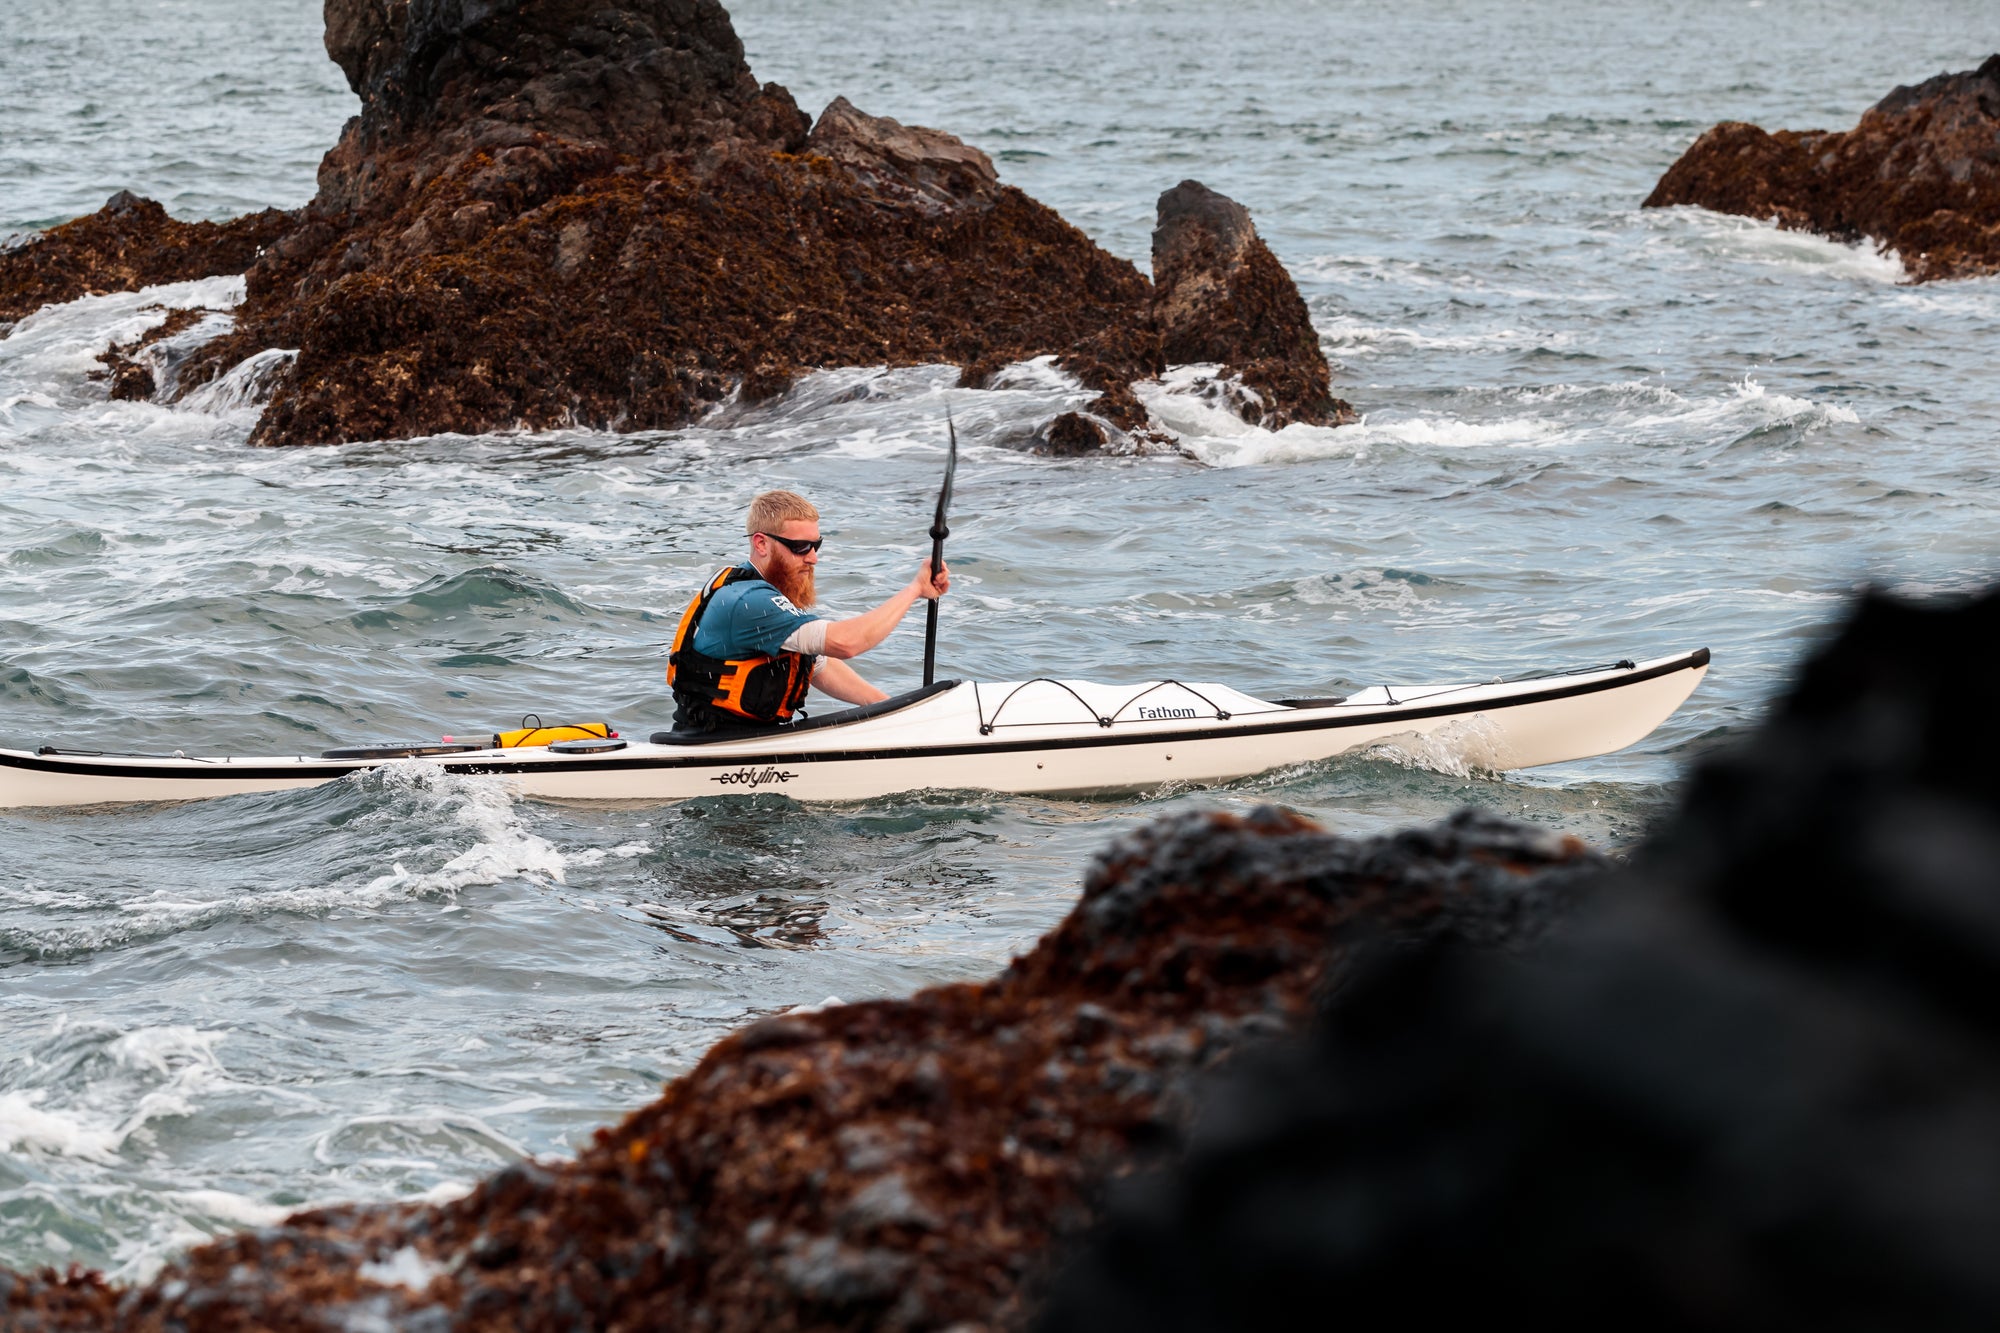
We’re all between swims. This is a super common phrase in the kayaking world, and it reflects the fact that no matter how good you are at paddling, if you kayak enough, at some point you will end up swimming. Swims are often related to a system failure, user error, inclement weather or quickly changing conditions. If not one of these, perhaps a rip and dip. Another common kayaking phrase used to describe a somewhat juvenile and unkind practical joke in which a kayaking buddy distracts you, pulls your skirt and pushes you over and into the drink. The key to handling any of these situations is knowing some basic rescue techniques.
Luckily, Dan Arbuckle of Headwaters Kayak breaks down 3 easy to learn and execute kayak rescue techniques on his YouTube channel. What’s even better? His mom, Terri Arbuckle, Level 3 ACA Kayak Instructor came out of retirement to play Dan’s rescuer in the scenarios demonstrating each technique. Terri, we love you!!
T-rescue
Simple and easy to use, the T-rescue is the most common rescue technique accessed when there is a person present to assist you. The basic approach is to get the capsized boat flipped and the water dumped out all while the boats are in the T formation. Once that is accomplished, the rescuer will align the two kayaks parallel to one another and steady the empty boat while the swimmer reenters the boat. The rescuer should give clear and calm directions because the person in the water may be a bit rattled or flustered. Watch the video for more detail.
Heel hook rescue
This technique is similar to the T-rescue. The initial clearing water from the cockpit of the kayak is the same method. Where it differs is once it’s time to get from the water, back into the kayak. Instead of hauling yourself onto the stern of the kayak and squirming backwards back into the cockpit, you mount at the cockpit. First place your hands on the lip of the cockpit, then lift a leg and get one calf into the kayak such that the front of your body is facing the kayak. While your rescuer steadies the other side of the boat, you can use all your strength to pull yourself into the kayak and become seated again. This is a particularly useful technique for those who may have less upper body strength, since you can use your legs (the strongest muscles in our bodies) to help lift your weight back into the cockpit.
Paddle float rescue
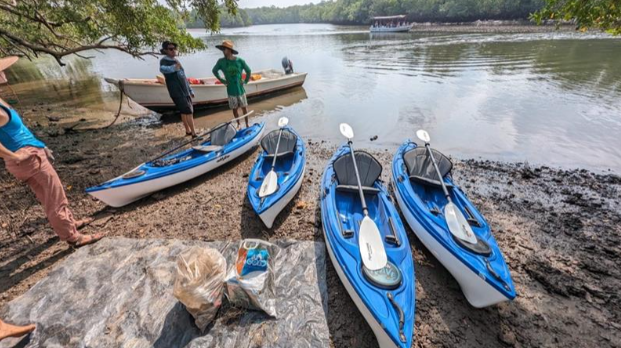
Requiring only one extra piece of gear, a paddle float rescue is a classic, entirely solo self-rescue method. No rescuer required. In leu of the rescue kayak used as the outrigger in the T shape rescue, your paddle, in combination with the inflated paddle float, will allow for an outrigger or T shape to stabilize your kayak as you get back in. A bilge pump will then allow for water removal. This is a critical technique when paddling solo. The paddle float and bilge pump can be purchased at numerous paddle suppliers. To source these pieces of gear, check out a local retailer using the "Find A Dealer" tool on the Eddyline website.
**If you are unsure how to use a spray skirt, part way through the video, Dan gives a demo!